Pinwheel Quilt Step Three: Quilting Part Two
I have too many big projects hanging around to feel like I can jump into smaller ones that would work for the blog—but that means I have an update on Pinwheel Quilt for you! It’s time for another part of the quilting portion!
As you may remember, I am doing this project as a Quilt As You Go. And I’m also learning as I go!
In Quilting Part One, I showed you my process for the small pinwheels that go around the perimeter of the quilt. This time I want to go into the very center of the quilt. I’m doing it in this order because it will help make the big pinwheels make sense.
The very center of this quilt in a checkerboard of pink and blue squares. I decided to do a stitched box in the middle of each square.
I used some of my erasable highlighters to draw guidelines. Basically I used my acrylic ruler to measure and inch in on each side. On the edges that are raw, I measured 1 ¼ inch in to allow for the seam. It might not be perfect, but it will be consistent, which is what really matters to me.
I then used a fun stitch on my machine to follow the guideline.
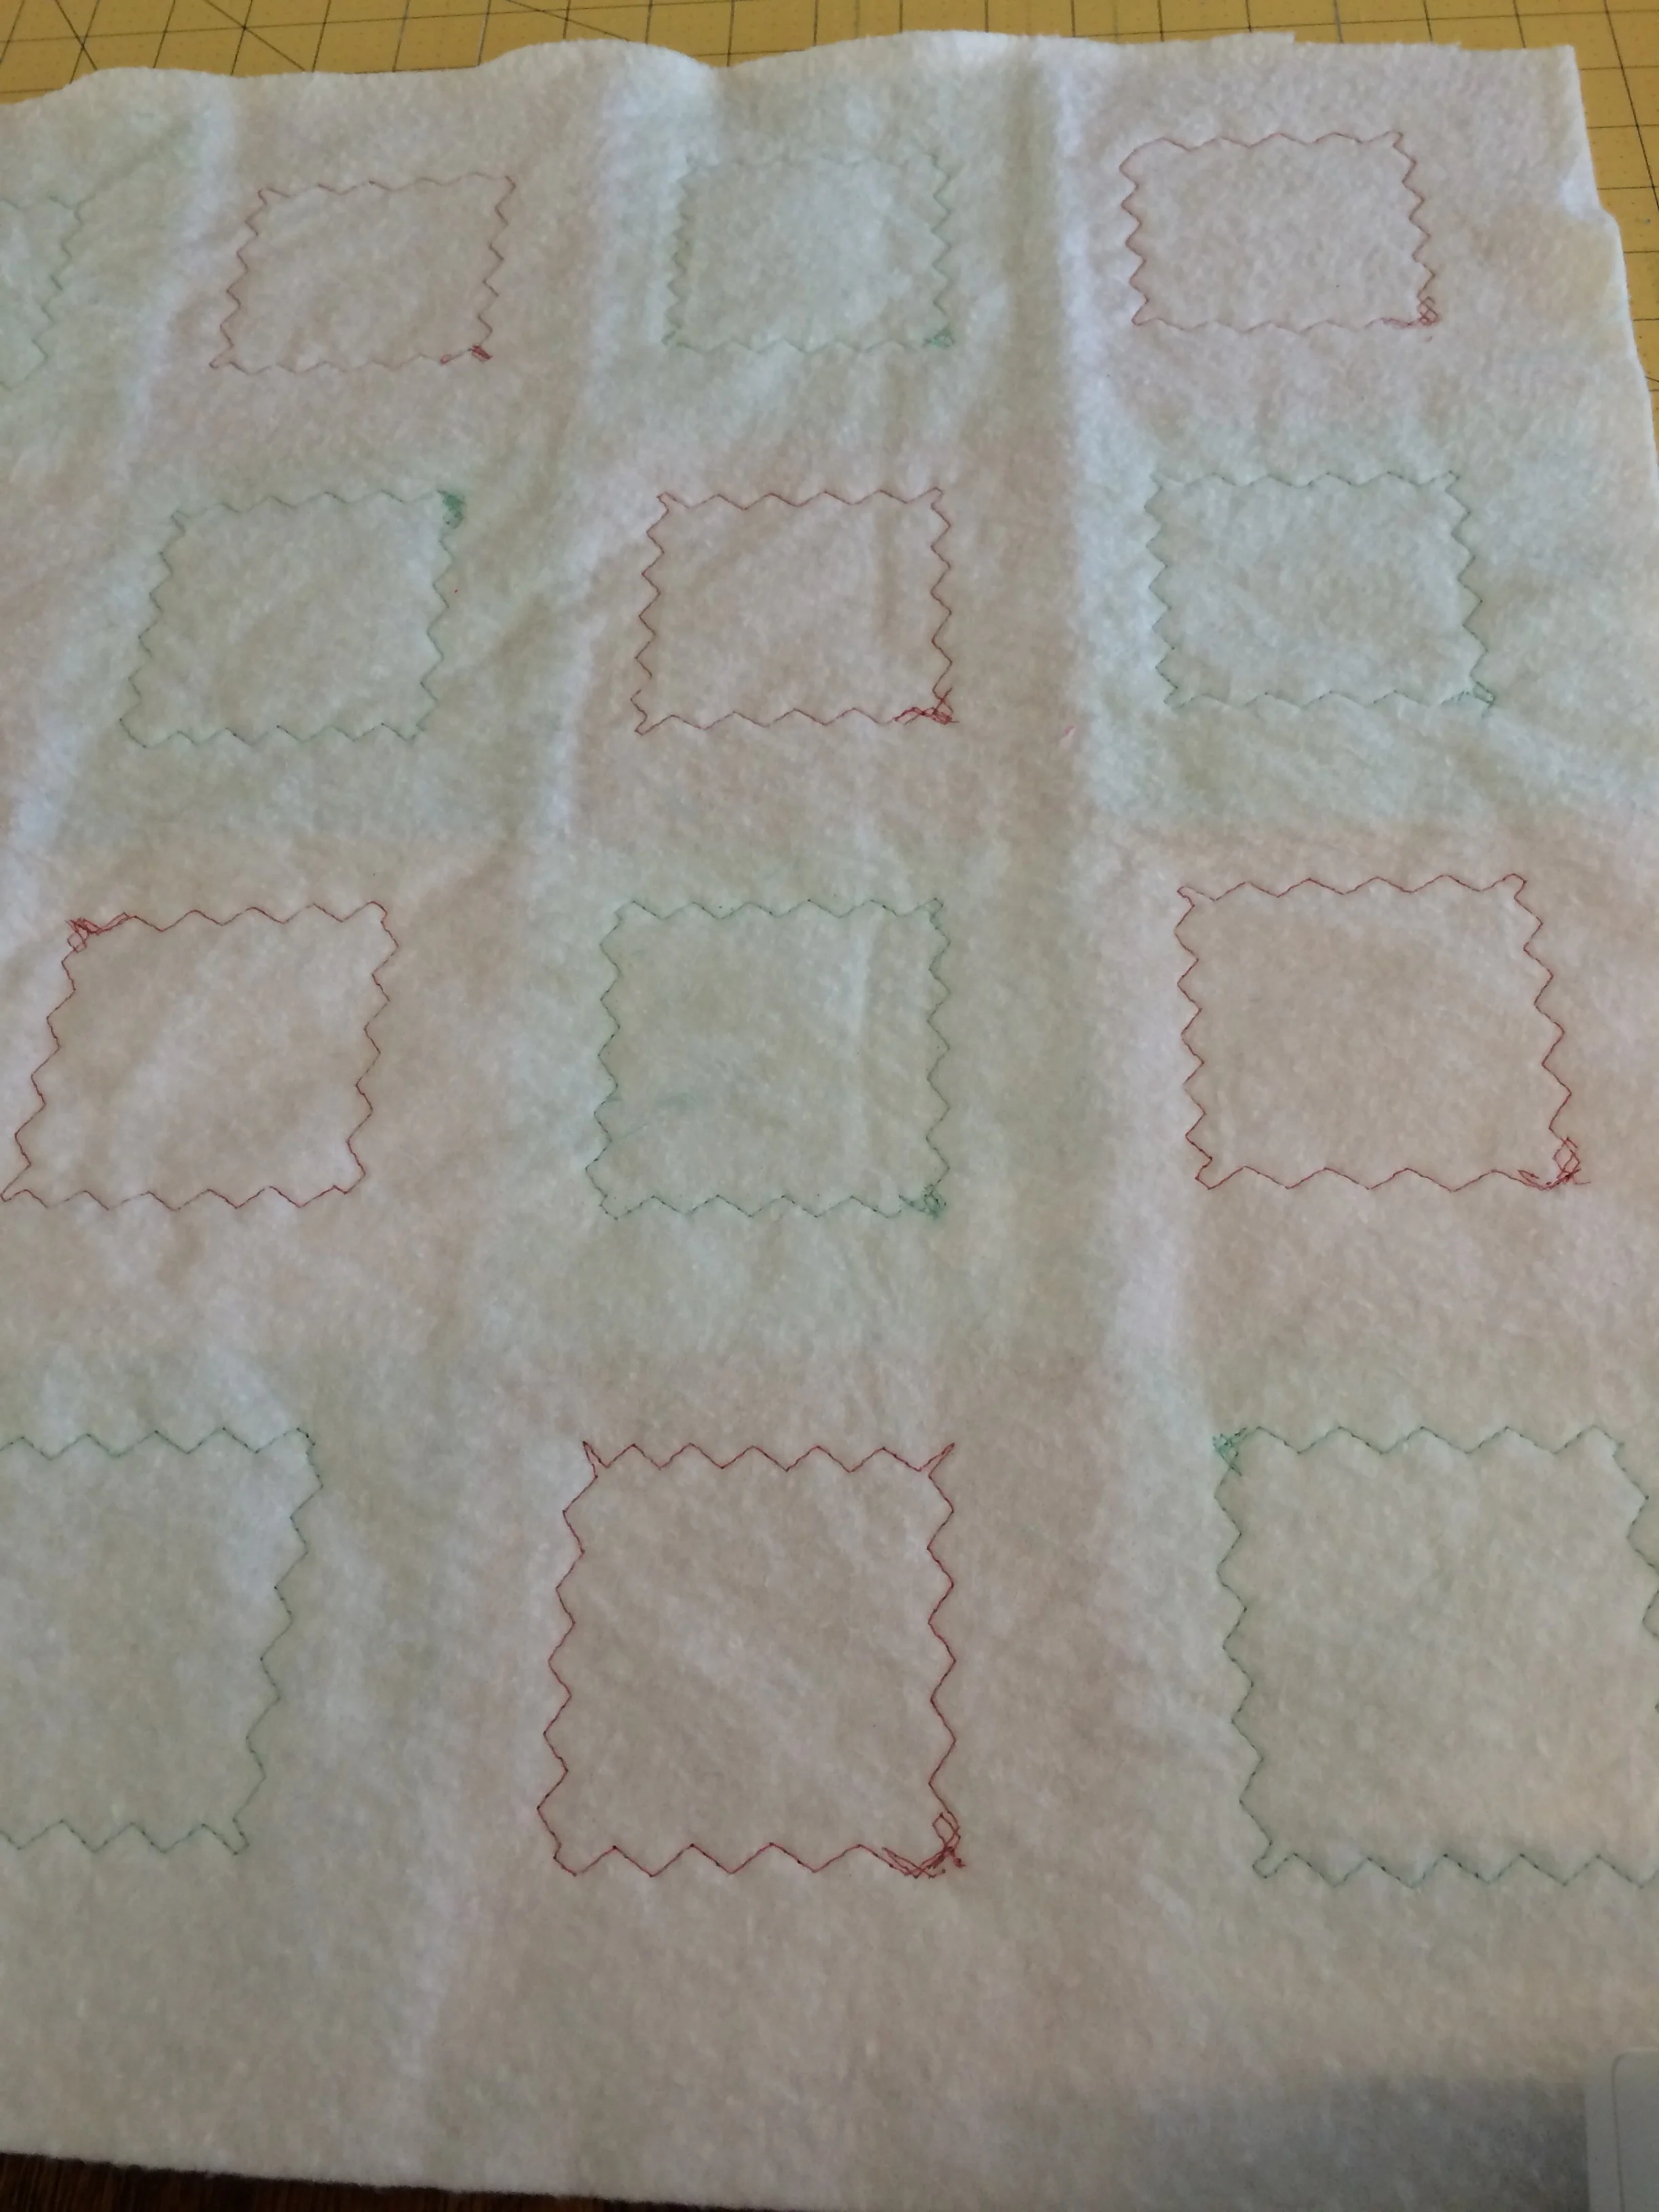
Unfortunately/fortunately, my thread colors match really well, so it’s hard to see in the pictures. But as you can see from the backside with the batting, they each have their own little box inside now.
I think when I add the backing at the very end and do the last bit of quilting, I might do a stitch in the ditch for the checkers, but we’ll see.


