Circles to Coasters
It’s been a while since I posted for Sew Monday! The volume of projects I have to create to update this space is a little more overwhelming than I anticipated. (And if you follow my Reflection Sunday space, I’ve been struggling with creative inspiration.) But I’m back and have several projects coming up that I’m really excited about.
This week I wanted to share something that is new to me. I’ve been focusing on triangle practice in several blog posts, but now I’m practicing circles. Now, I thought I shied away from triangles before, but it’s nothing like how I shy away from circles. They’re too easy to mess up, and I don’t like wasting/ruining fabric.
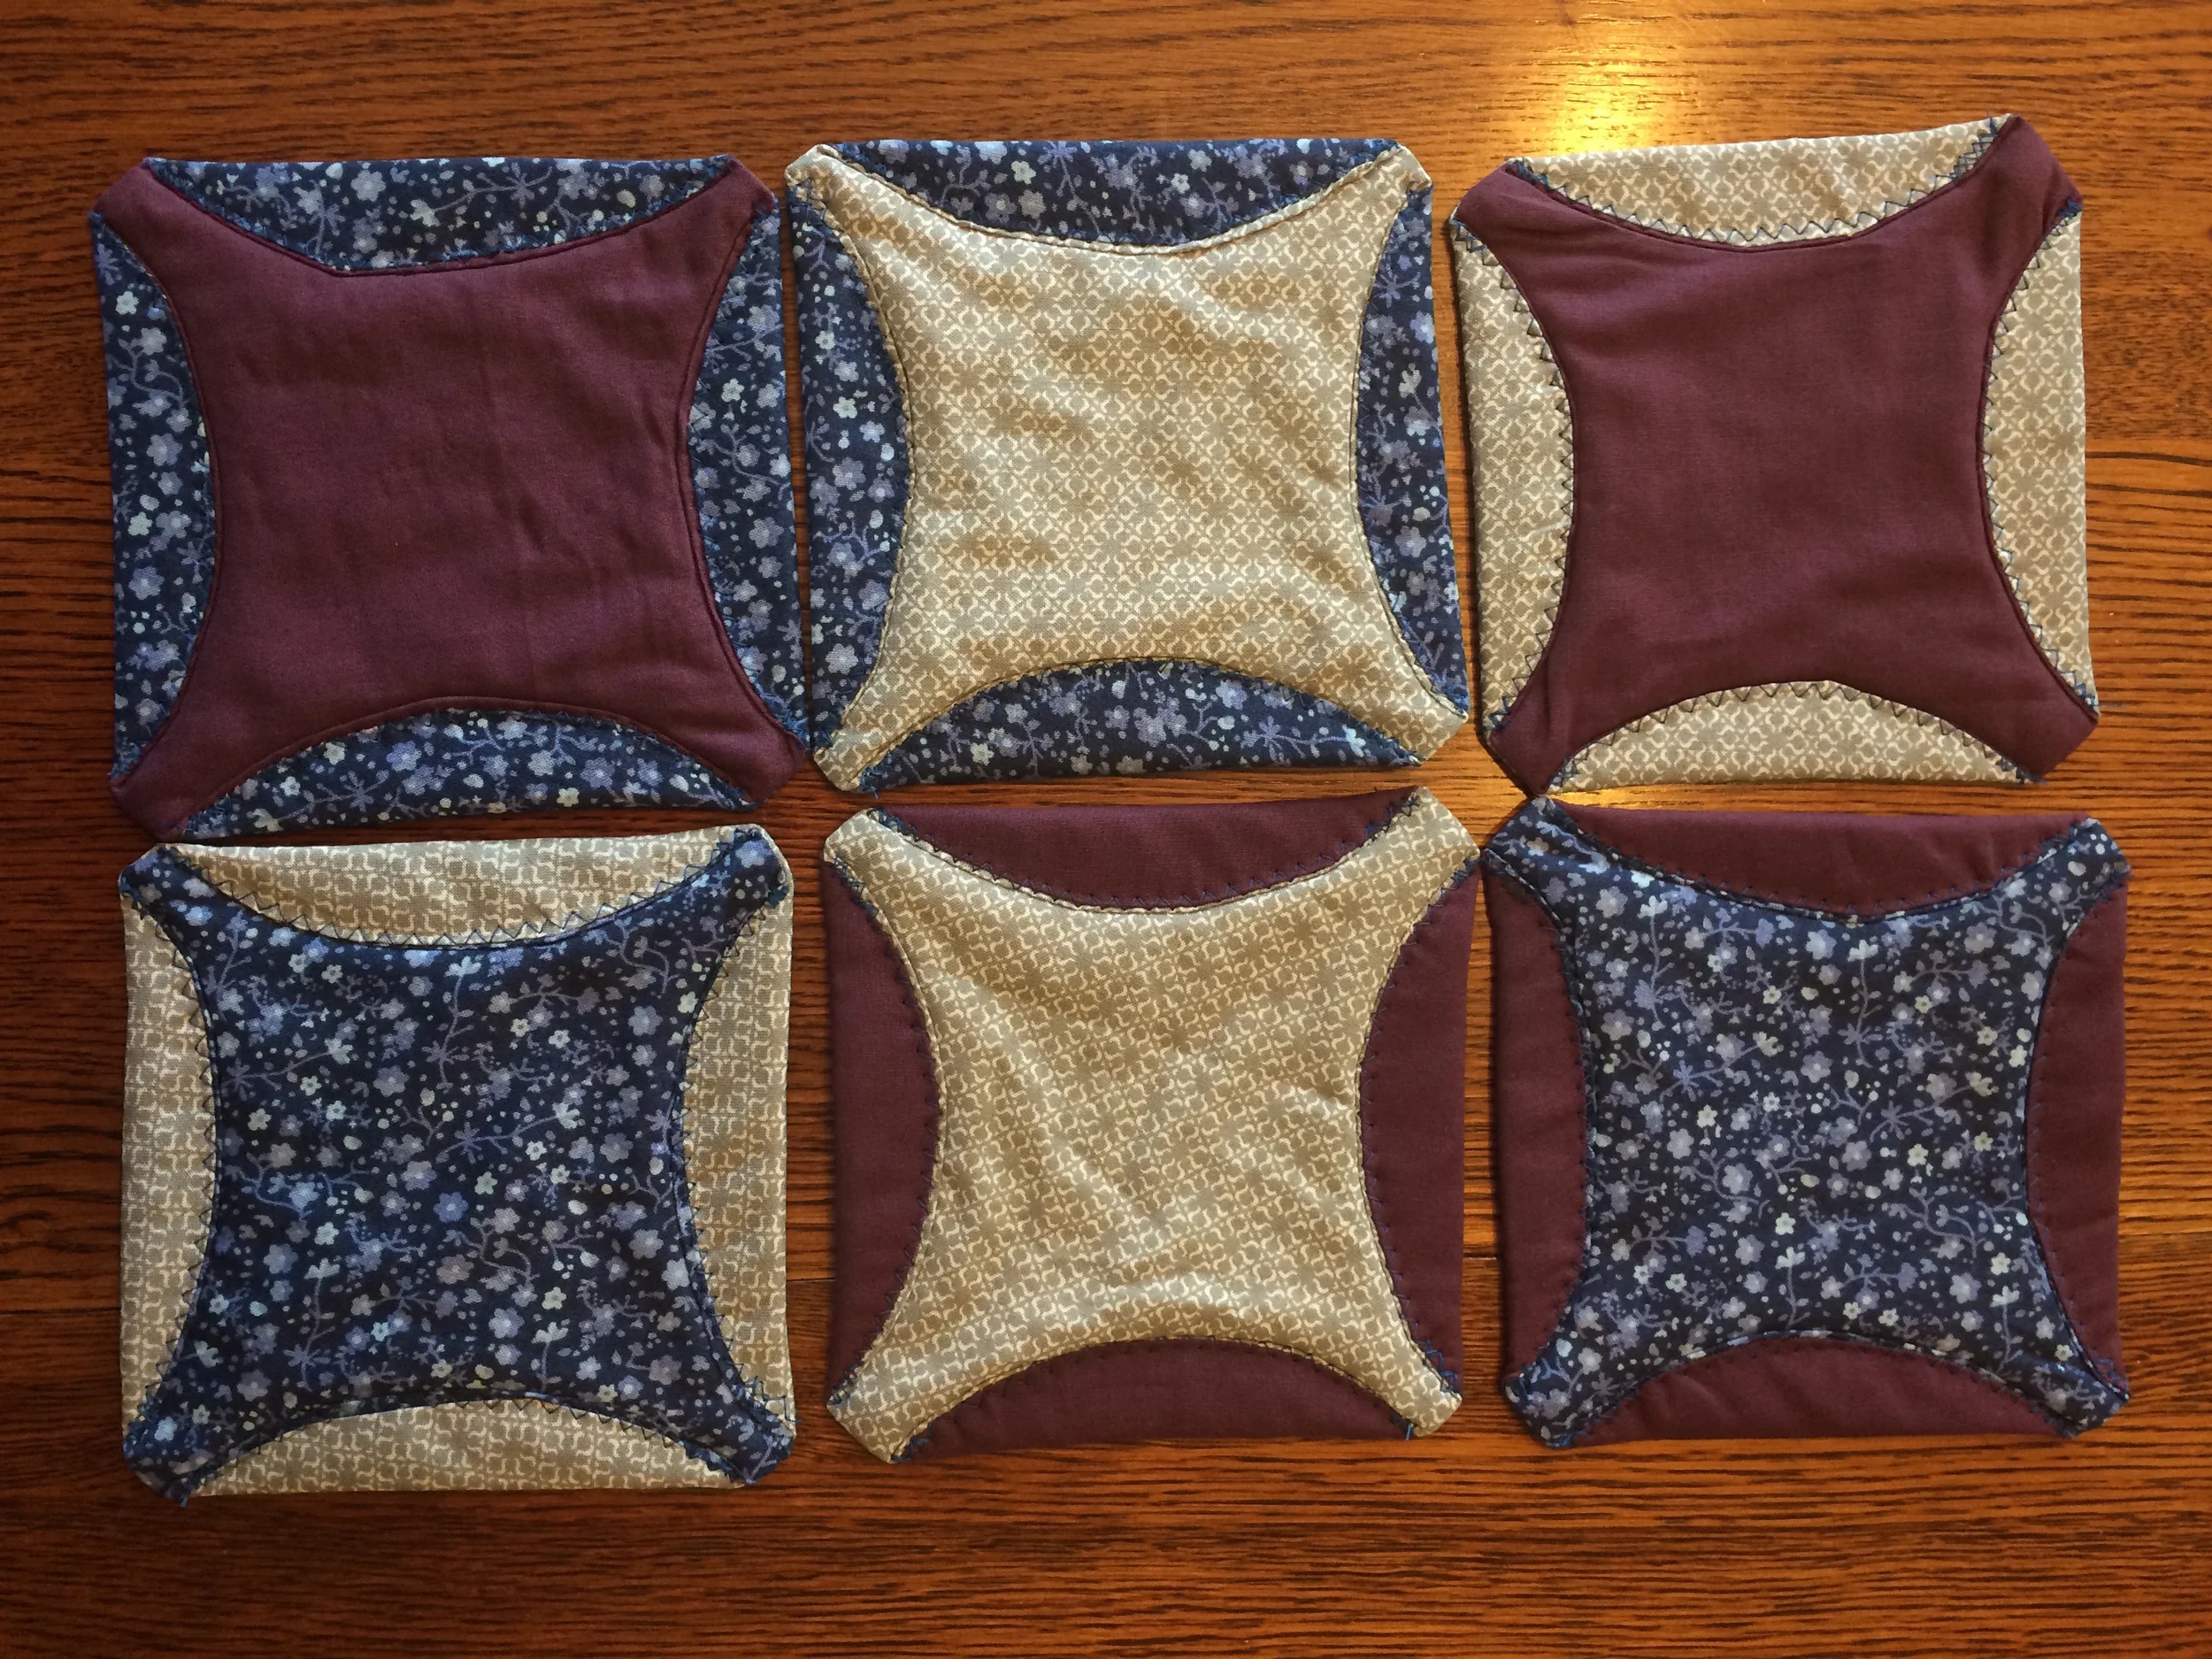
I’ve been meaning to make something for my friend who designed my website art. She and her husband are wonderful people who thrive on library vibes and they love to decorate with: grey, navy, and burgundy.
It didn’t take me long to find a grey and navy print fabric that I liked, but burgundy is a tough color to get right, so I went with a solid fabric. I also found this round acrylic “ruler.” I had seen a friend work with a circle like this in a different sewing project, but thought I could make it work for this as well.
I traced four circles out of each fabric. For the finished product they would be paired in twos, so I would end up with six coasters total.
Cutting out circles is a bit of a pain…at least cutting them out of fabric. But I think I did pretty well, all things considered!
Then I cut out six squares of batting to put in the coasters. I cut squares that were 5”x5.” In the future, when I make these again, I think I will make the batting squares smaller—probably 4.5”x4.5” so that the corners can be more crisp. (I will probably make a follow-up post about this someday, be looking for that.)
Pair your circles together—you want them to be contrasting fabrics.
Put the good sides together and center a square of batting on top.
Pin around the outside edge of the circles, making sure to pin down the batting.
Sew a ¼” seam around the entire circle. Do not leave a gap for turning.
Here’s the tricky part that I watched one of my sewing buddies do. You cut a slit in the fabric so you can turn the circle. You’ll be folding the flap over so you’ll hide the cut in the end. Be careful where you cut so you can actually hide it later.
Turn all of you circles inside out and iron them flat.
Here is where you’ll have to feel for the batting in the center (and where I think I could improve). What you want to do is turn the circle into a square, and this means that you will be folding the sides of the circle over as evenly as you can. I used a zig-zag stitch to go around the curved side inside the squares.
It’s not fool proof. But considering this was my first time attempting anything like this, I think they turned out pretty well!
And I know that my friends will appreciate them because they share my love for rustic beauty.
I can’t wait to try this again!


