Pinwheel Quilt Step Three: Quilting Part Three
Back at it again! I’m getting close to being done with this project—which I’m excited about because it means that I’ll finally get to see it all done! It’s been a lot of fun and I’ve definitely learned a lot, but it’s always rewarding to finish a big project.
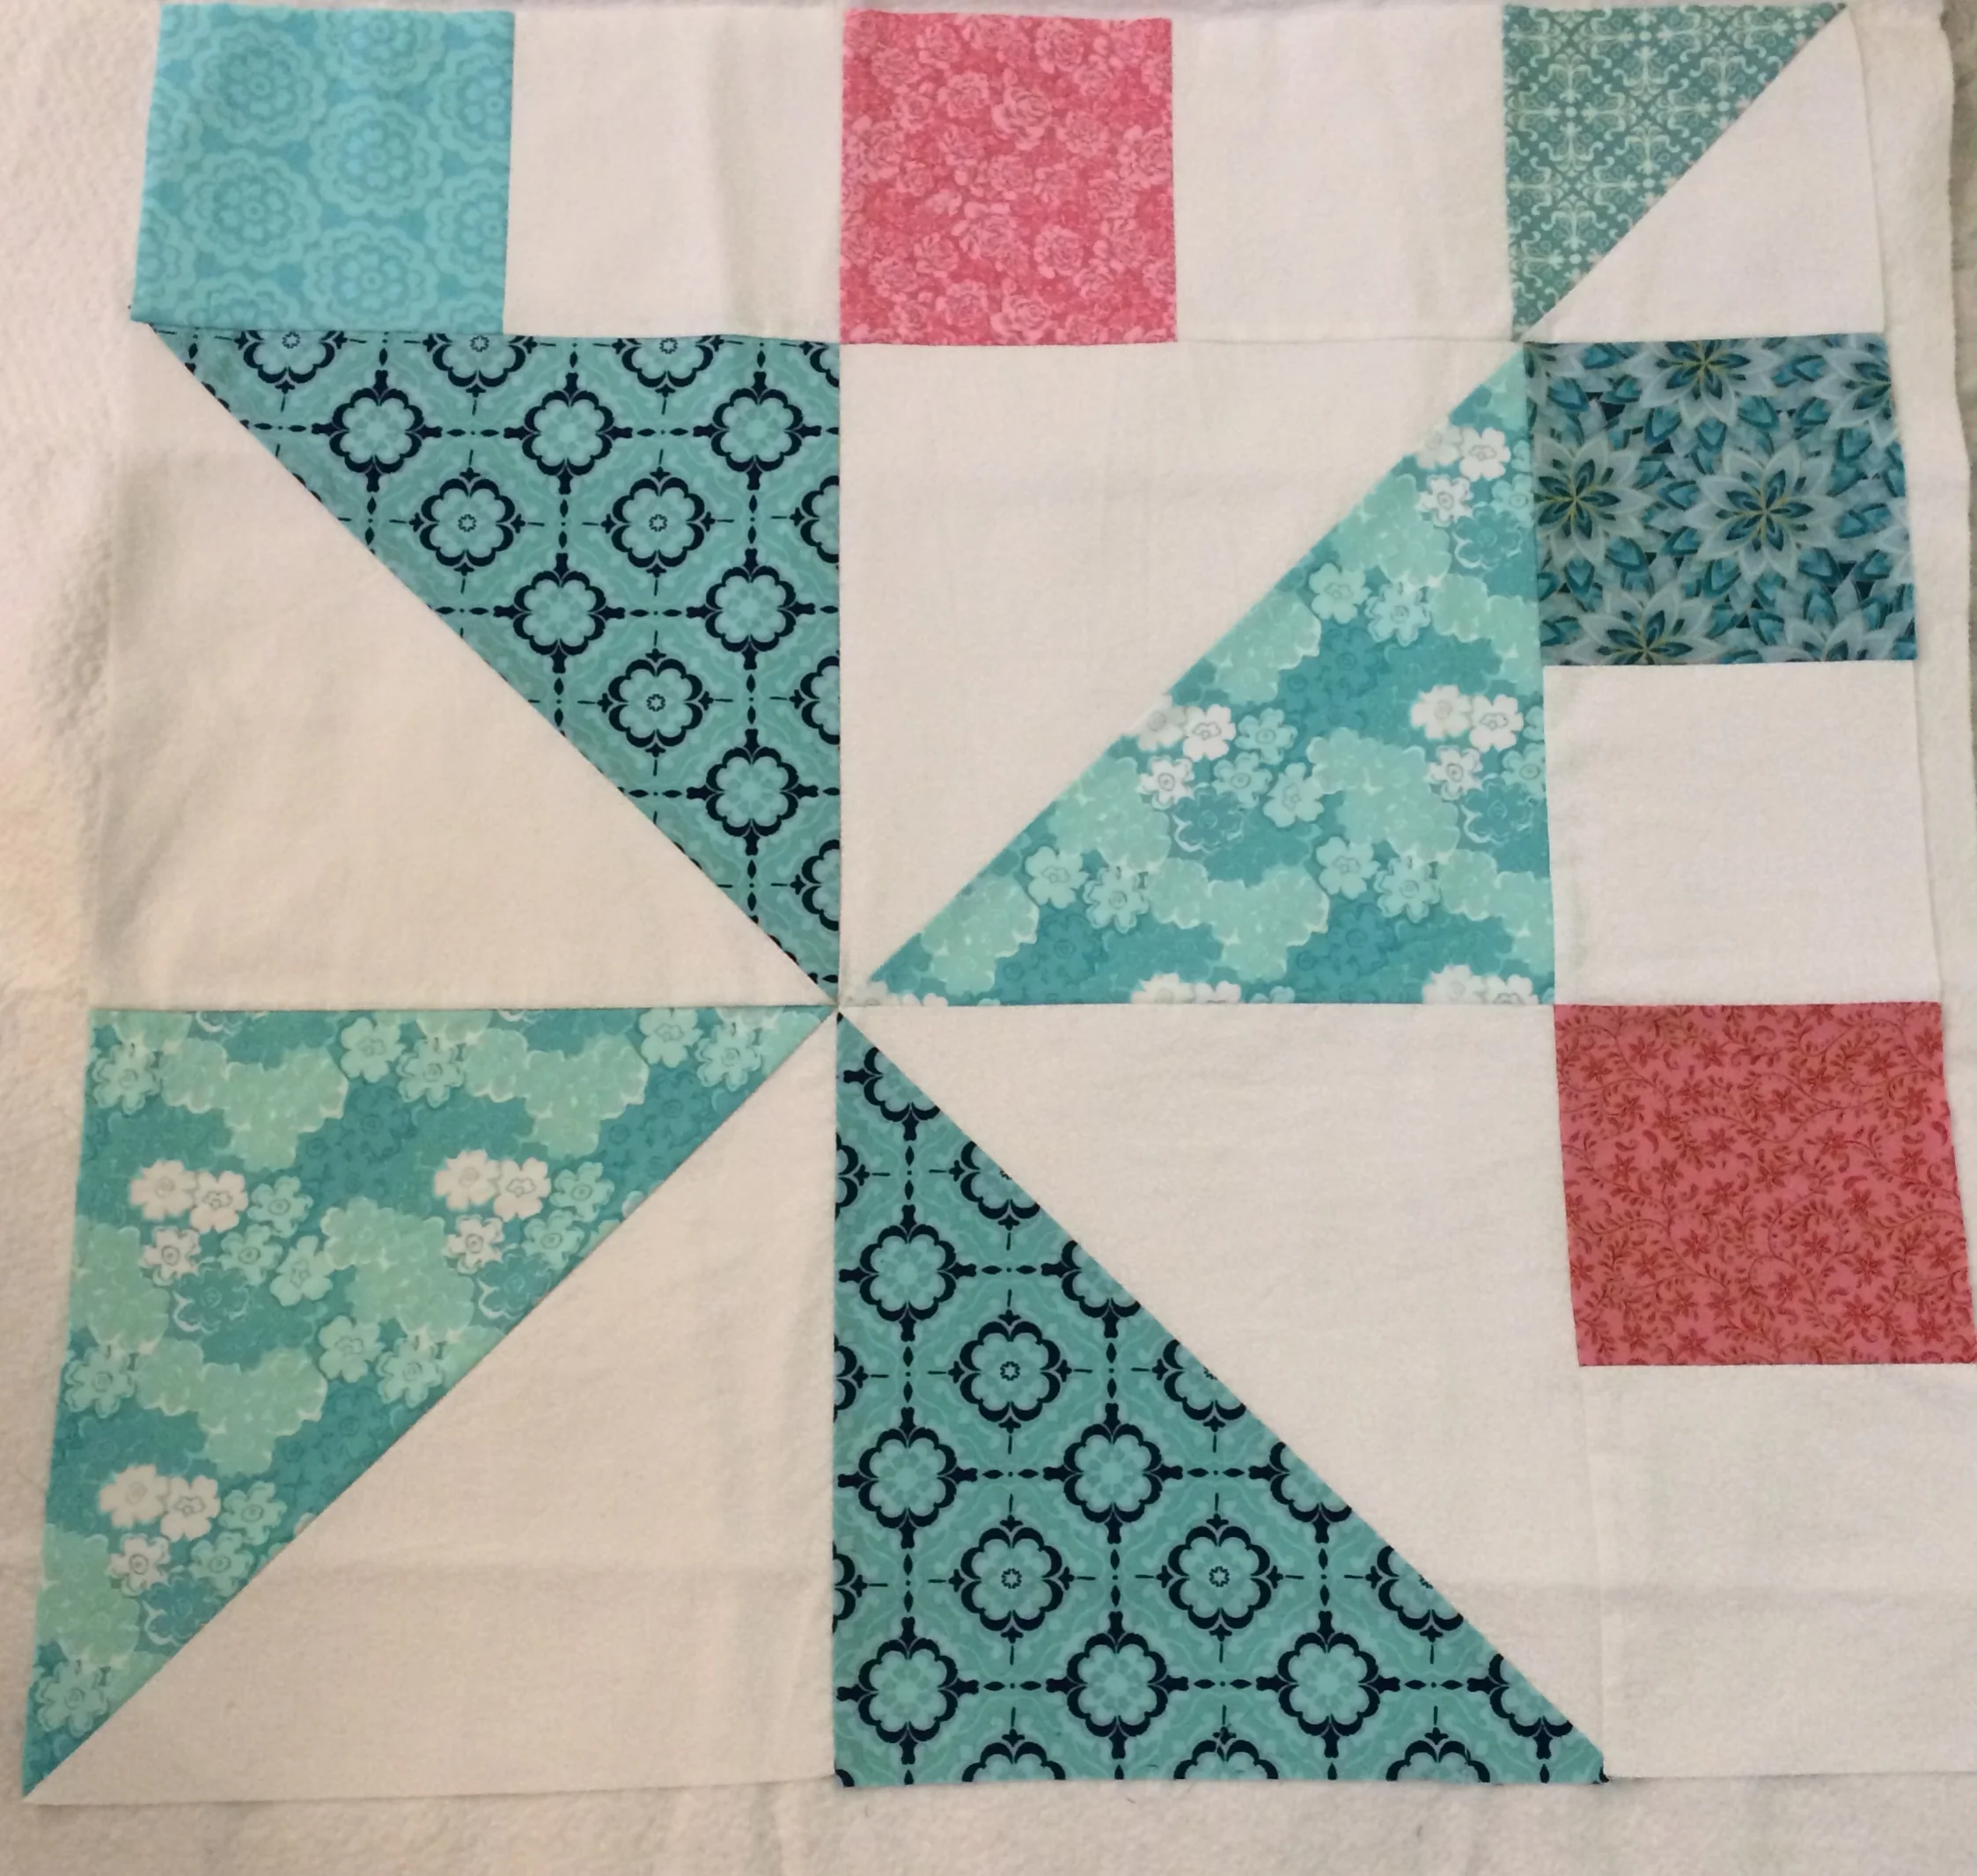
This step of the pinwheel quilting mostly just incorporates the other methods I used in Part 1 and Part 2. These blocks are bigger pinwheels with a border of squares on one or two sides. Start by basting the block to the batting, just like I did last time.
Because the pinwheels are bigger, I decided to make the width of the stitches bigger. I used the same stitch though and followed the same pattern on the white parts of the pinwheel as I did in Part 1. Except instead of going up and down the sides three times, I did it six times.
For the colored triangles in the pinwheels, I chose to use the same stitches in the appropriate color of thread as I used in the white triangles. I did change it up by measuring in 2 inches from the edge so that the stitches filled in more the middle of the triangle—kind of the inverse of what I did in the white triangles. I only went up and down three times (because there’s not enough space to go more).
The colored squares got the same treatment that they did in Part 2 of the quilting. So if you want to see how I did that, go check out that post. I didn’t make any changes.
The white squares were new. I hadn’t done anything with white squares yet. I decided to go with stripes. So I used a straight stitch, with the width set to 5 so that it would have a pinstripe effect. This takes a long time—and isn’t as interesting as the zig-zag stitches, but it does add a nice texture and I do love the way it looks.
So there you go! That’s the last bit of quilting! The next time you see this project will be putting the top together and adding the backing! Be looking for that!


